
Fresno Auto Detailing
How to Keep Your Car Looking Like New
Why Choose FresnoDetail.com?
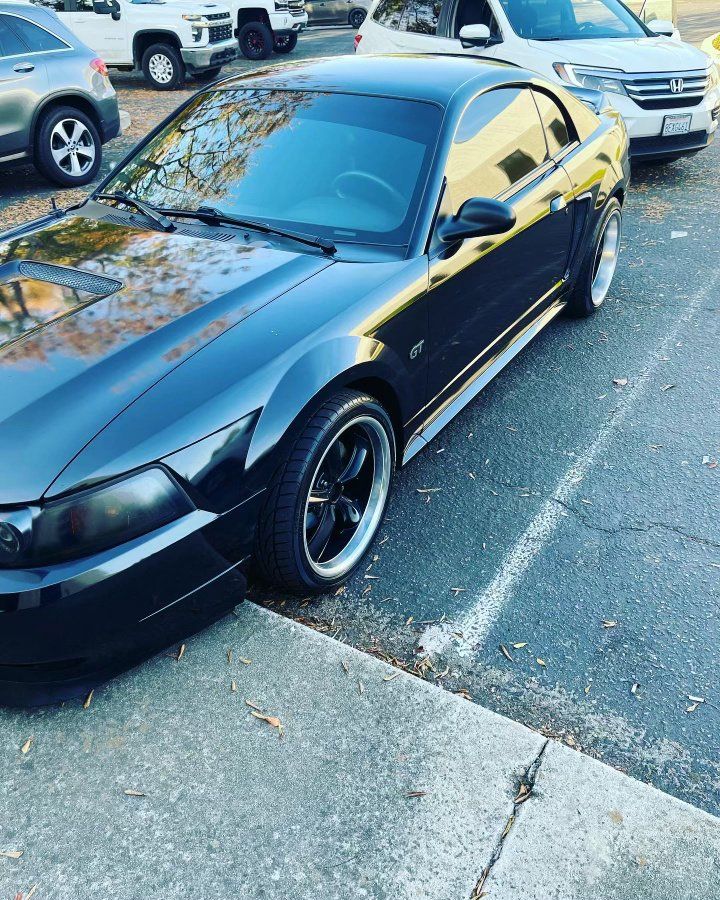
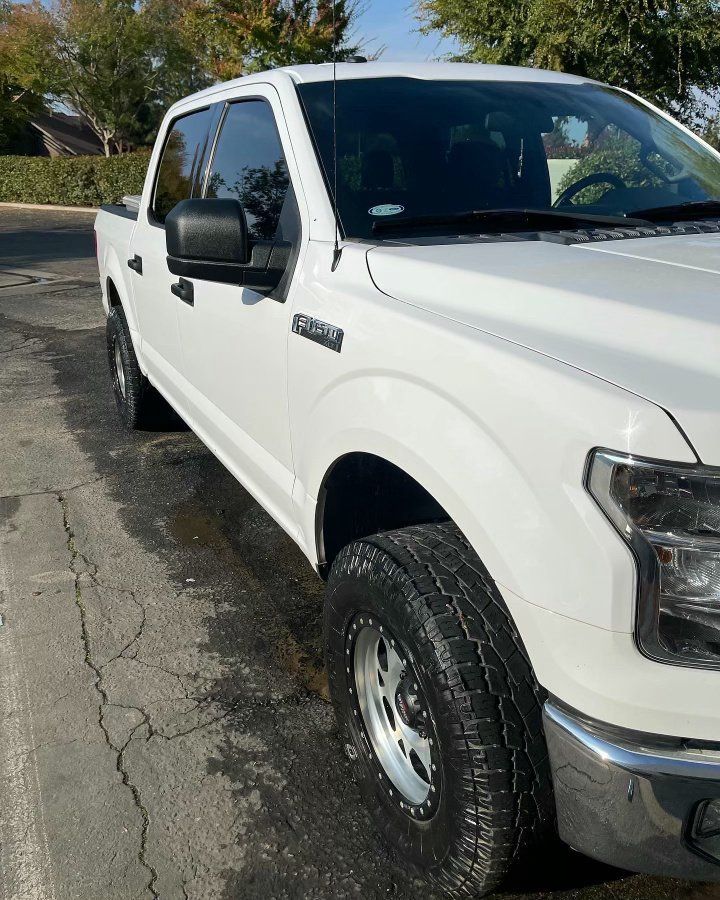
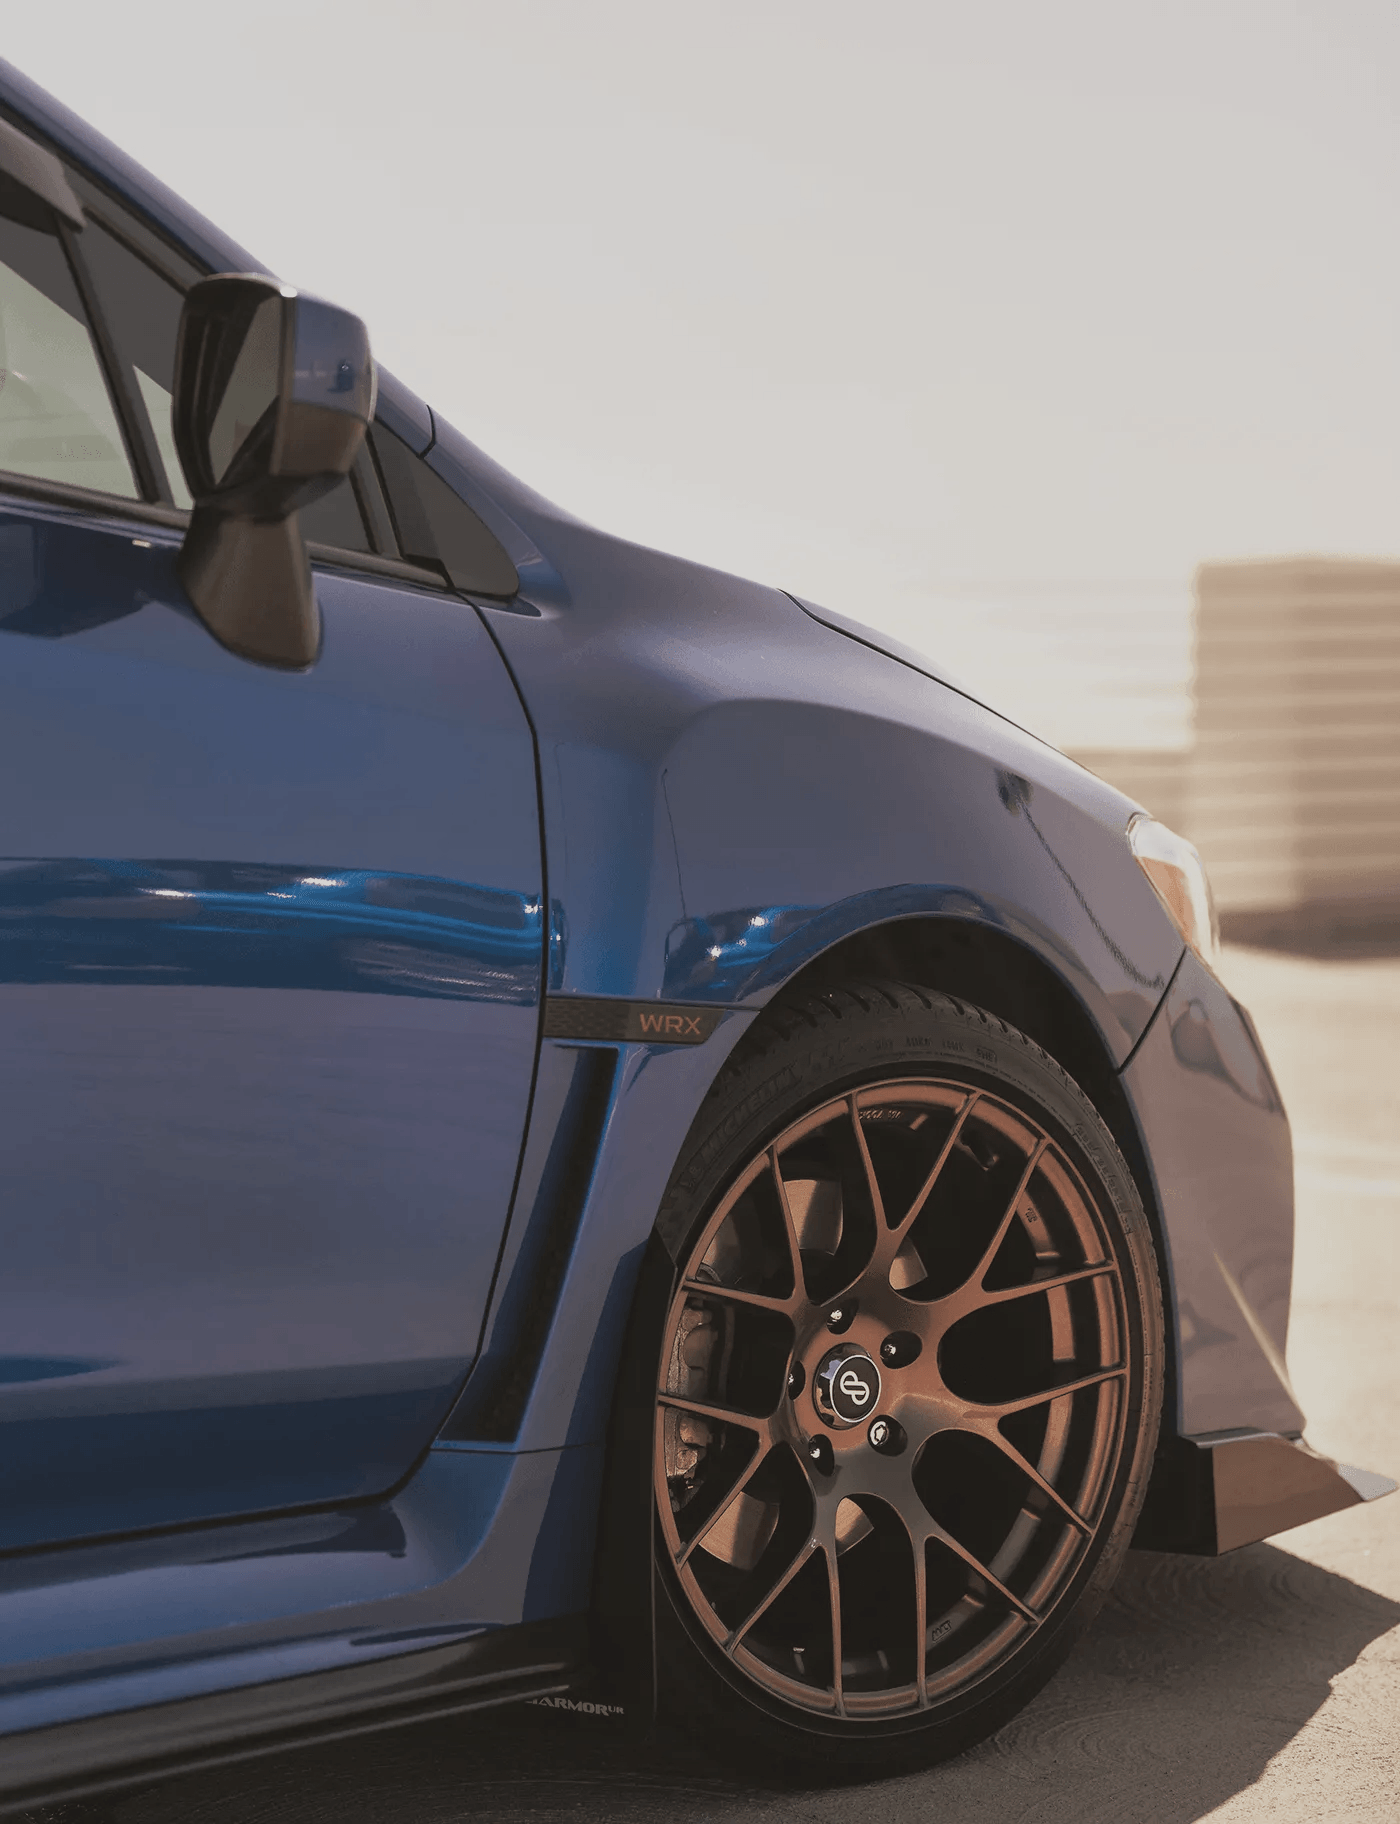
Introduction When it comes to maintaining the aesthetic appeal of your car, the clear coat plays a crucial role. It's the final layer of your car's paint job, providing a glossy finish and protecting the underlying paint from UV rays, scratches, and chemical stains. However, over time, the clear coat can become damaged, leading to unsightly blemishes on your vehicle. But don't worry, repairing clear coat isn't as daunting as it seems. This guide will walk you through the process of repairing clear coat, with a special focus on Fresno clear coat and auto detailing. Understanding Clear Coat Damage Before diving into the repair process, it's essential to understand what clear coat damage looks like. The most common signs include: Dull or faded areas: These are often the result of prolonged exposure to the sun and elements. Peeling or flaking: This usually indicates that the clear coat is failing and needs to be repaired or replaced. Scratches and scuffs: These can occur from everyday use and accidents. Preparing for Clear Coat Repair Before you start the repair process, you'll need to gather the necessary tools and materials. These include: Sandpaper (1000, 1500, and 2000 grit) Clear coat Base coat (if necessary) Rubbing compound Polishing compound Wax Microfiber towels Spray gun (for larger areas) Step-by-Step Guide to Repairing Clear Coat Step 1: Clean the Area Start by thoroughly cleaning the area you'll be working on. This removes any dirt or debris that could interfere with the repair process. Use a car wash soap and a microfiber towel, then rinse and dry the area. Step 2: Sand the Damaged Area Next, sand the damaged area with 1000 grit sandpaper. This removes the damaged clear coat and smooths out the surface for the new coat. Be sure to sand lightly and evenly, and avoid sanding down to the base coat. Step 3: Apply the Clear Coat Once the area is sanded and clean, you can apply the new clear coat. If you're using a spray can, hold it about 10 to 12 inches away from the surface and apply the coat in thin, even layers. Allow each layer to dry before applying the next. Step 4: Wet Sand the Area After the clear coat has dried, wet sand the area with 1500 grit sandpaper. This helps to smooth out any imperfections and blend the new clear coat with the surrounding area. After wet sanding, rinse and dry the area. Step 5: Polish and Wax Finally, use a rubbing compound to polish the area and restore its shine. Follow this up with a polishing compound for a high-gloss finish. Once you're satisfied with the look, apply a layer of wax to protect the new clear coat. Conclusion Repairing clear coat might seem like a daunting task, but with the right tools and a bit of patience, it's something you can do at home. Whether you're dealing with a small scratch or a large area of damage, this guide should help you restore your car's clear coat to its former glory. Remember, maintaining your car's clear coat is an essential part of auto detailing, especially in areas like Fresno where the sun can be particularly harsh. So, don't neglect your clear coat – keep it in top shape and your car will thank you!